
If you feel your Internet connection is more gradual than it should be or you notice that some websites get blocked while browsing, it could be because all your Internet traffic is going through a proxy server. In this guide, I will teach and show you how to easily Check the Proxy Server Settings.
[lwptoc]
What is a Proxy Server?
Well, a proxy server is nothing more than an additional computer that stands in the way between you and your Internet service provider. When used in corporate settings, it’s typically set up to block web traffic from and to employee computers. To see if your computer uses a proxy server, I’ll show you how to check your proxy settings.
Because an administrator is in charge of the proxy server, you won’t be able to turn it off on your own. On the other hand, personal computers can be set to use a proxy server inadvertently or maliciously.
How to Check Proxy Settings in Windows
The proxy settings on your computer will be used by most browsers running under Windows. Each browser can change proxy settings via a settings page, but most pages simply link to the Windows proxy settings dialogue box.
Windows 10 has two methods for changing settings: the Settings app or the Control Panel in previous versions of Windows. I’ll mention it here because Windows 7, 8, and Vista require the Control Panel method.
Windows 10 Settings App
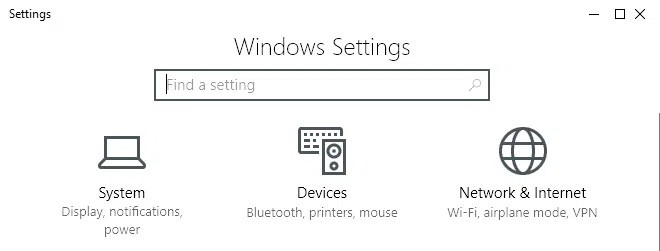
Simply go to the Start menu, then choose Settings from the far left-hand menu. Select Network & Internet from the Settings menu.
In the left-hand menu, select Proxy from the drop-down menu.
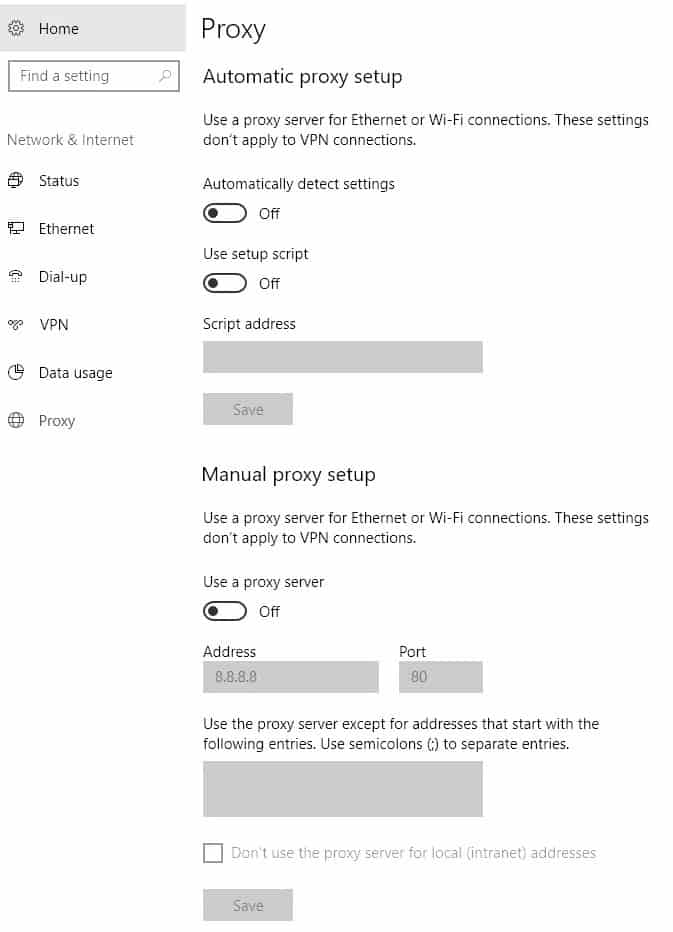
You’ll find all of the options you’ll need to set up a proxy server in Windows here. There are 2 ways to set up a proxy: automatically or manually. Everything should be turned off in 99 percent of the cases. However, your web traffic may be routed through a proxy if specific settings are enabled.
Control Panel
If you’re still using a previous version of Windows or prefer the old way of doing things, you can make the same changes in the Control Panel on an older version of Windows. Unfortunately, there is only one set of proxy settings available in Windows, regardless of changing them.
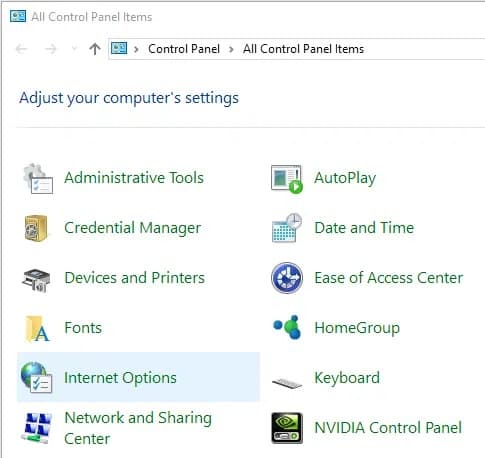
Click on Internet Options in the Control Panel once you’ve opened it.
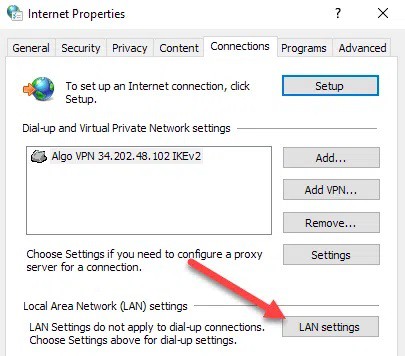
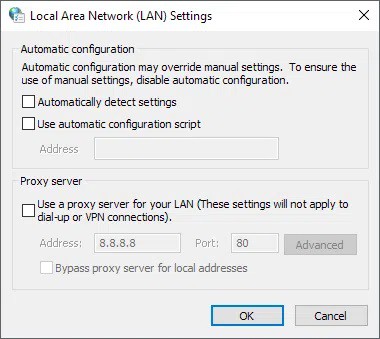
Click on the Connections tab in the Internet Options dialogue and then on LAN settings at the bottom of the page.
All of the options you’d find in the Settings app are available here as well. Everything you set up here will be reflected in the other location and vice versa.
Check Proxy Settings in Mac OS X
The steps are very whether you are using a PC or a Mac with OS X. Because most browsers check the proxy settings in System Preferences, you’ll need to make the change there.
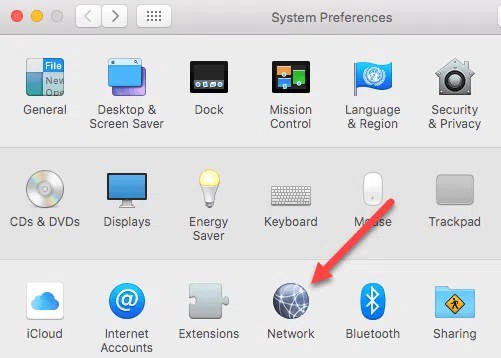
Click on Network in System Preferences. Make sure that the connected or active network connection is selected on the left. Depending on the network connection, you may want to use a different proxy setting.
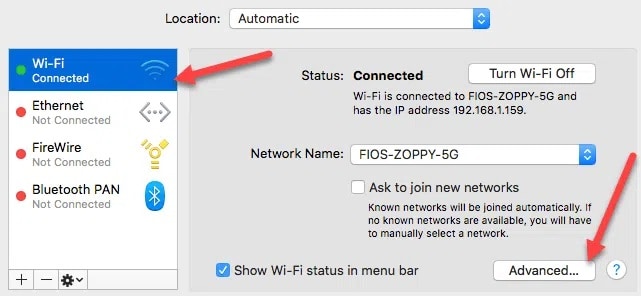
Click on the Advanced tab at the bottom of the page. After that, select the Proxies tab to see a list of available protocols.
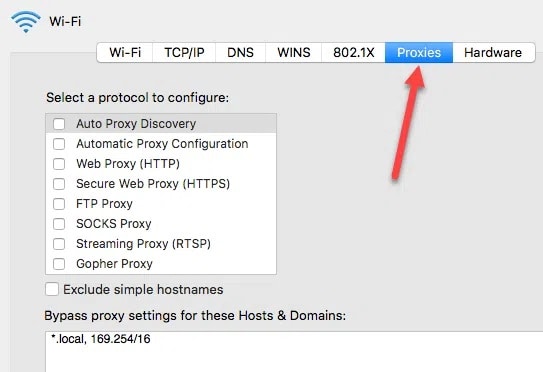
The proxy server IP address, port number, username, & password can be entered, for example, if you click on Web Proxy (HTTP).
Check Proxy Settings in Linux
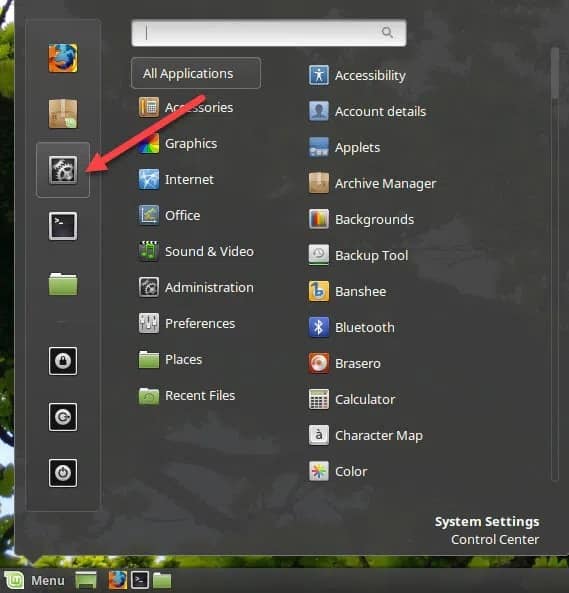
It varies from Linux distribution to Linux distribution. Most likely, it will be a KDE or GNOME-based desktop environment. If you’re using Linux Mint Cinnamon, which GNOME heavily influences, you’d first click on the button and then click on System Settings.
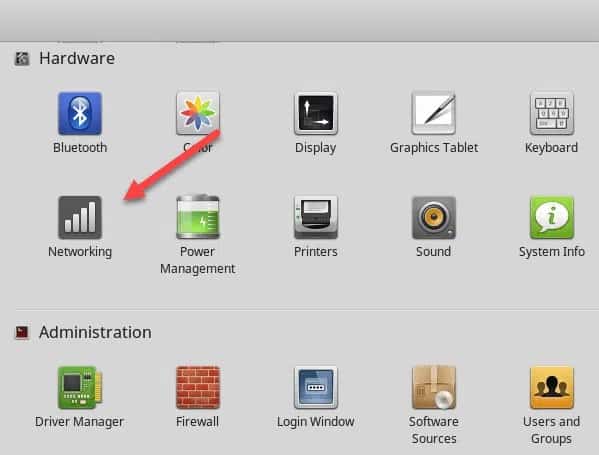
Scroll to Hardware, then click on Networking on the left-hand side of the screen.
ALSO SEE: Delete a Snapchat Account
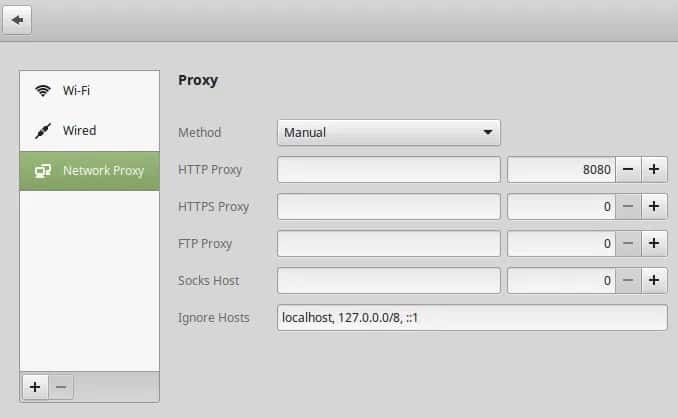
Finally, you have the option of Automatic or Manual Network Proxy if you click on that option.
Ubuntu, which makes use of Unity and GNOME, follows a similar setup process. In case you are using a different desktop environment, the results will be different. Please feel free to ask any questions in the comments section.
Enjoy!