
Are you wondering how to convert a PNG image file to JPG to reduce its size, or do you wish to upload an image, but the only format supported is JPG? This article will show you how to convert PNG to JPG without losing quality Windows 10.
When dealing with images in Windows OS, specific file formats are used. The PNG and JPG/JPEG formats are the most widely used. However, because these two formats serve different purposes, you must understand which format to use when.
For example, if you share a picture that only contains text, you should use PNG format, whereas you should use JPG format to share a portrait. The primary distinction between the two file formats is found in their compression algorithms.
JPG/JPEG employs a lossy compression algorithm, which means that some image information may be removed to reduce file size. On the other hand, the PNG format uses a lossless compression algorithm that retains all data, preserving image quality while automatically increasing file size.
Furthermore, JPG files can be compressed to save room on your disc, whereas PNG files guarantee image quality. Both formats have advantages and disadvantages, but if you want the JPG file to have the same quality as the PNG file format, you can convert the PNG file to JPG without losing quality using the methods listed below.
[lwptoc]
Convert PNG to JPG without Losing Quality
Method 1: Use XnConvert for PNG to JPG Image Conversion
You can use a third-party app called XnConvert to convert the PNG image to a JPG image. Images can be converted to a variety of formats using XnConvert. XnCovert is an excellent tool for converting images from PNG to JPG without losing quality.
Would you please go to the XnConvert website to download this third-party app? XnConvert is an excellent piece of batch image processing software.
Follow these steps to convert the image using XnConvert.
1. Obtain and install XnCovert. Then, to open it, double-click on its icon.
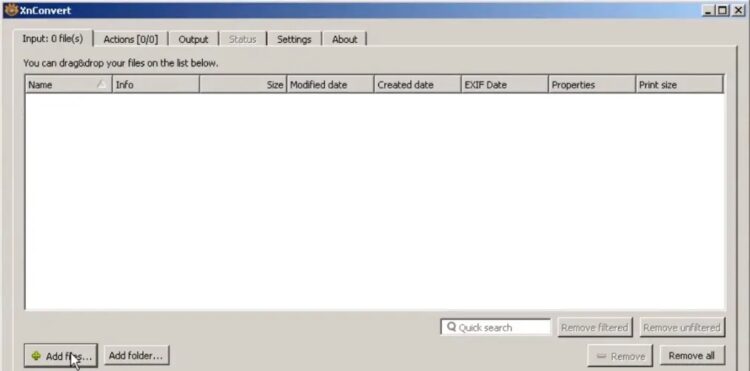
2. To open the image files, go to the top left corner of the screen and select the Input tab.
3. Tap the Add Files button and browse the files you want to open.
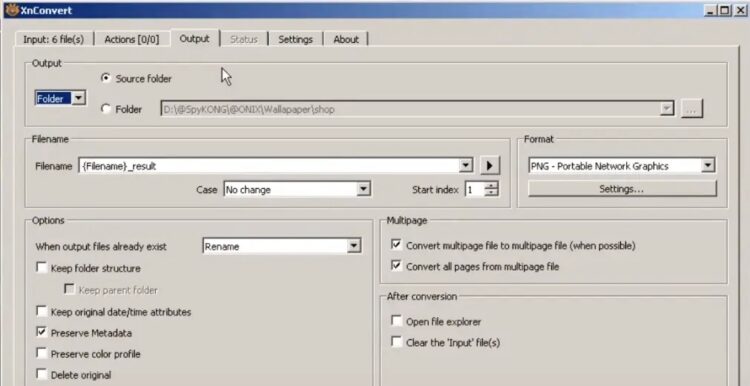
4. Select the Output tab and navigate to the location where you want to save the converted file.
5. Enter the filename and choose JPG as the format to convert the PNG file.
6. To convert the file, click the Convert button.
Method 2: Microsoft Paint to Convert PNG to JPG
Microsoft Paint is an excellent tool for converting PNG to JPG. The conversion can be completed in a few simple steps.
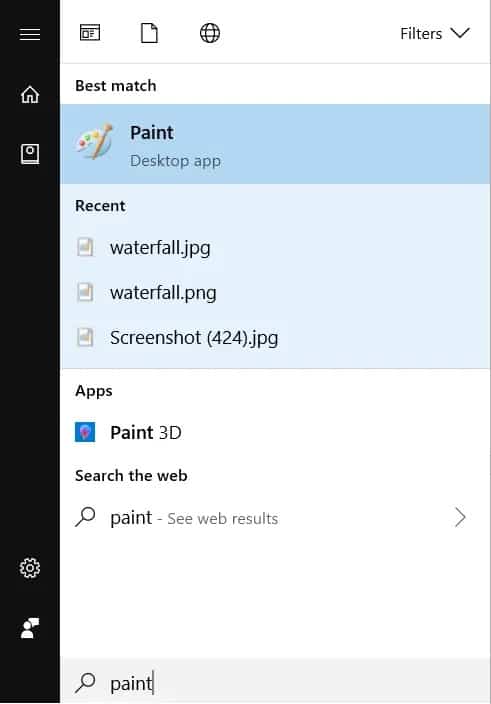
1. Right-tap the Start button or press the Windows key.
2. To open Paint, type it into the Windows search box and press Enter.
3. Open the file that you want to convert from PNG to JPG in Paint.
4. From the Paint menu, select File, then Open from the list of options.
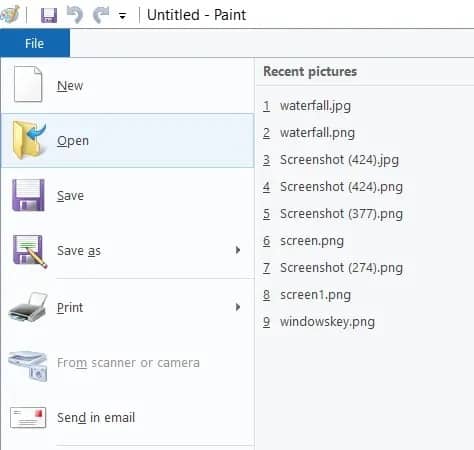
5. Choose the image you want to open.
6. Click on File again and look for the “Save as” option in the list; move your mouse cursor to the right arrow to see the option to save the file in JPEG format.
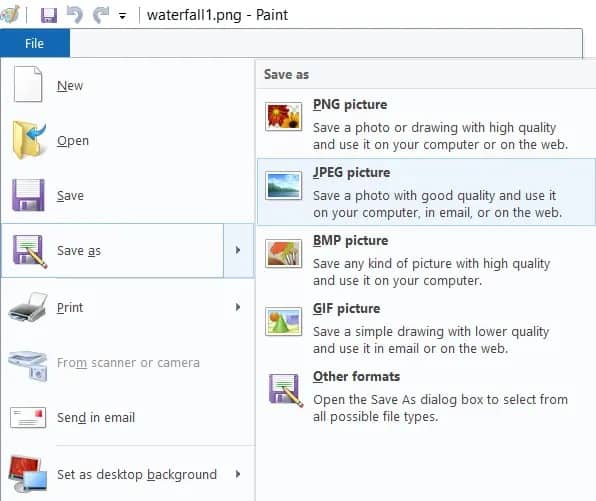
7. From the Save As menu, select “JPEG picture.”
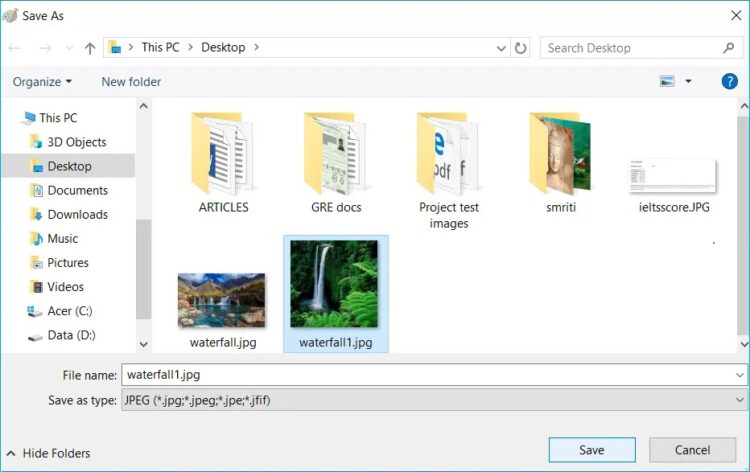
8. Now, a new window will open; type the file’s name to be saved and then tap on the Save button.
In this way, you can save your file in JPG format without losing the image’s quality in the PNG format.
Method 3: Use Photoshop
When it comes to images, Adobe Photoshop is the best software that never lets you down. You can do enough editing with Photoshop, but you may not be aware that it can even be used to convert a PNG file to a JPG format.
Follow the steps below to convert the file:
1. Open Adobe Photoshop, then click the File menu in the upper left corner of the screen and choose Open.

2. Open the file to be converted to JPG format.
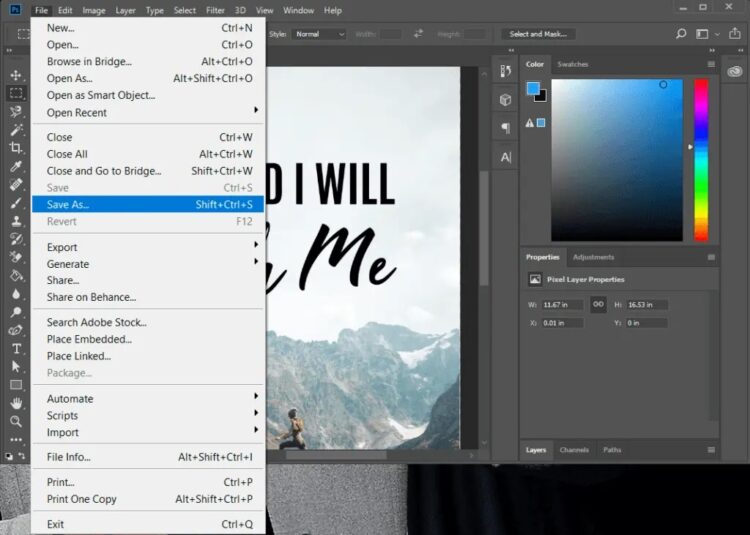
3. Once again, go to the File menu and select the Save as an option.
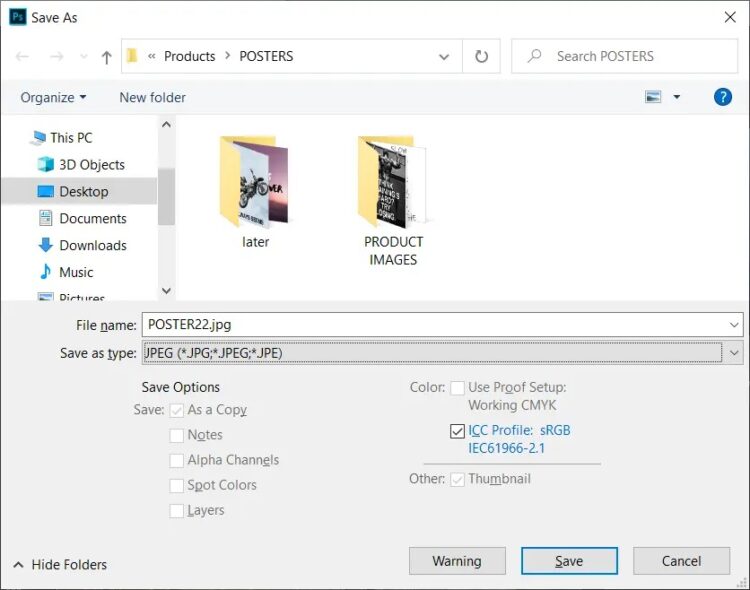
4. In the new window, now type the name of the file you want to save then choose JPEG from the “Save as type” drop-down menu.
ALSO SEE: Enhance Your Presentations
5. Click the Save button to save the file as a JPG/JPEG.
6. A pop-up window with JPEG options will appear, allowing you to adjust the image’s quality.
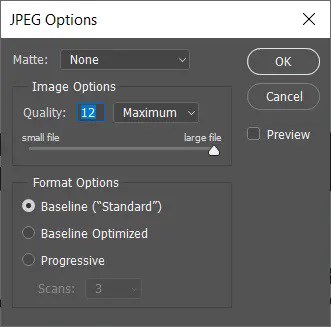
7. Once you have finished configuring the options, click OK, and your file will be saved in JPG format.
The image will be converted from PNG to JPG format, and now you will have a JPG image with the same quality as the PNG image.
Method 4: Use PNG to JPG Converter Online
The quickest way to convert a PNG file to a JPG file is to use an online PNG to JPG converter. Follow the steps below to convert the image using this online converter:
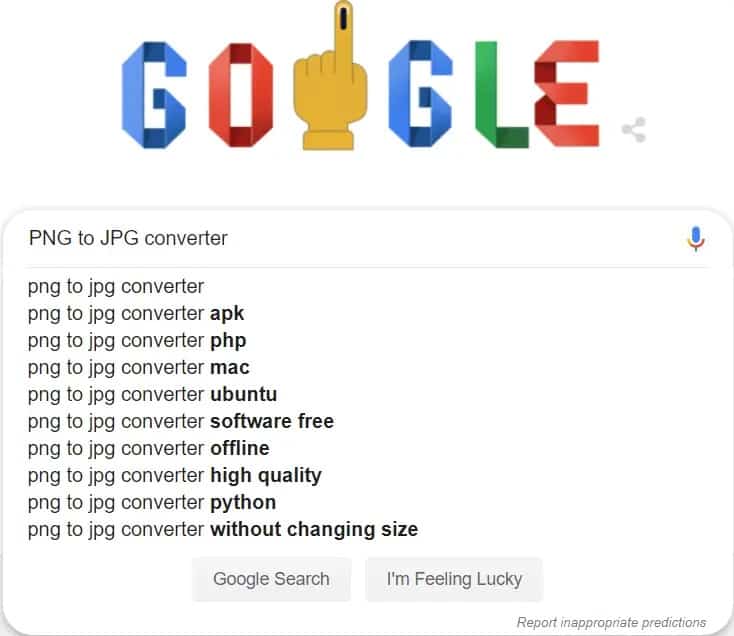
1. In any web browser, go to Google.com and search for PNG to JPG converter.
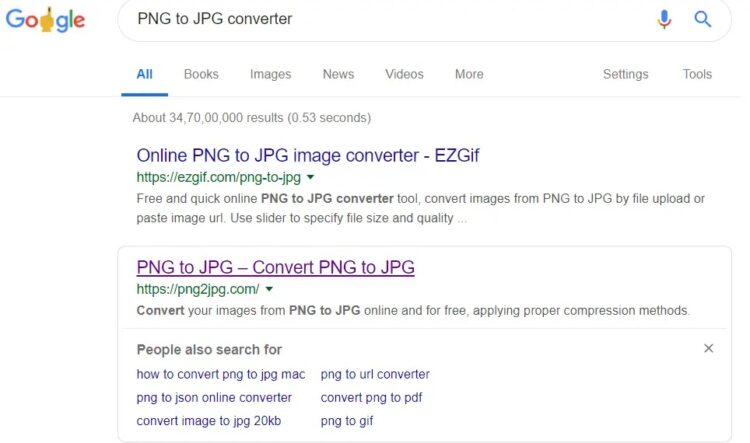
2. Go to png2jpg.com and click on the link.
3. In the new window, tap the Upload files button, choose the files to convert from your system, and click the Open button.

4. Click on the download button option to download the converted file.

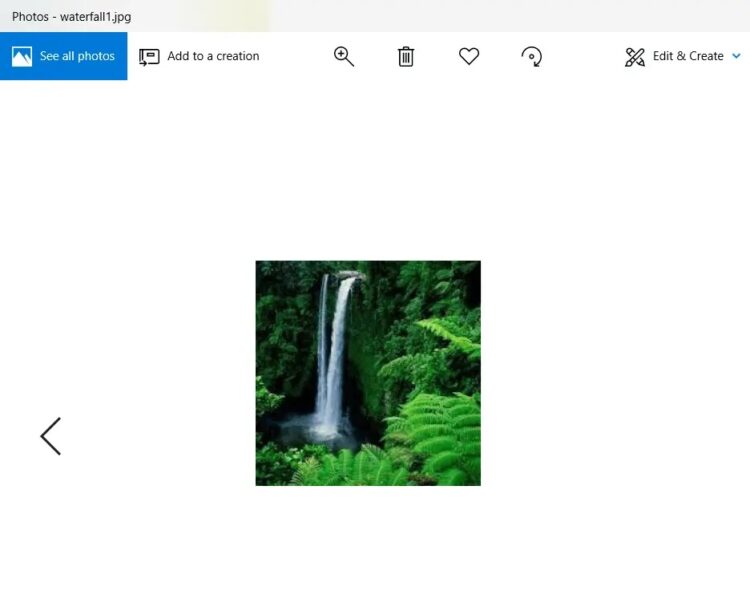
5. Once you open the downloaded file, you should see the converted image without any problems.
It is how easily one can convert the PNG image to JPG with the help of a PNG to JPG converter.
Final Words
Dear Readers, these are some methods for converting a PNG file to a JPG file without losing image quality in Windows PC. So, if you have any queries, do let us know in the comments section below!