
In this guide, you will learn easy methods using the TinEye tool to Perform a Free Reverse Image Search.
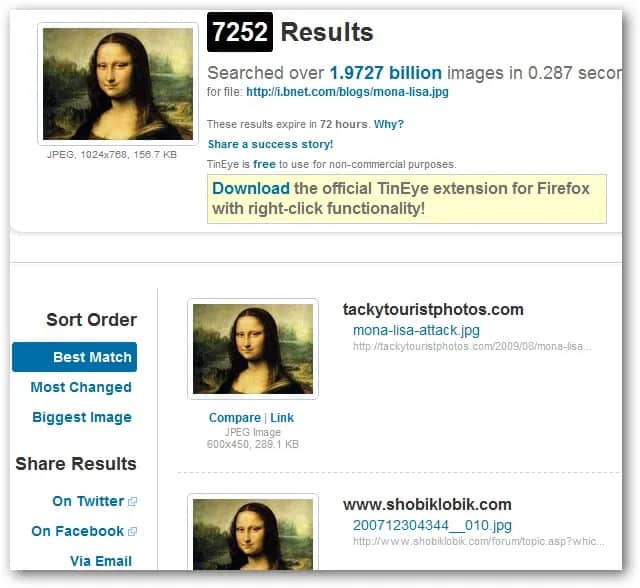
Fortunately, TinEye makes this a simple task and is the ideal tool for locating the source of an image and other types of information. TinEye performs reverse image searches by gathering information from original images (that you submit) and then returning results in seconds. You’ll be able to see how long TinEye took to find your results, as well as how many images it looked through.
TinEye also allows you to view image modifications and compare them to the original version. TinEye can also help you if you need an image in a larger size. All images’ dimensions and file sizes can be viewed. The best part is that TinEye is entirely free to use (for non-commercial searching). To begin, you must first locate and submit an image.
How To Perform a Reverse Image Search To Find Original Source Of An Image
Searching For Images
TinEye currently offers three methods for performing a free reverse image search. You will get the same results regardless of which way you use. It comes down to personal preference & convenience.
Upload An Image
You can search your computer for an image and upload it to the site. TinEye will search and display the results.
Enter The URL
You can even enter the URL of the image itself or the page that contains the image. TinEye can use either of these to search the web for an image and display the results.
Use The Browser Plugin
Finally, there are browser plugins for Firefox, Chrome, Internet Explorer, Safari, and Opera that can perform live searches. The plugin is handy: right-click on an image and choose “Search Image on TinEye.” Your results will then be displayed in a new tab.
If you prefer bookmarklets, they also have one of those.
Results Page
It is the page that appears after TinEye has completed a search. If no results are returned, TinEye has not crawled the website or page where the image appears. It would help if you kept coming back because they constantly crawl new pages and add new images to their library.
Viewing the “Most Changed” results can yield some exciting results. Here you can see a variety of image variations and some exciting editing work from other users.
Share Results
TinEye’s AddThis service allows you to share your search by image results on Twitter, Facebook, email, and various other services. It is accomplished by selecting one of the share options on the right side of your results.
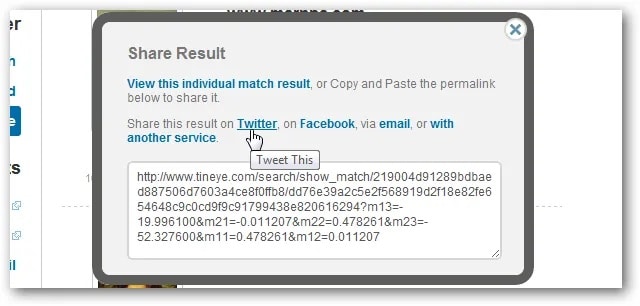
You can even share individual items by clicking on the “Link” button directly beneath the image.
View Source
TinEye will display the image’s actual link and the page where the image can be found. It is useful if you want to find the original source of an image or if you need to give credit to an article.
Side note: Using “Link” underneath an image does not provide the source of the image; instead, it gives a link to the result on TinEye.
Compare Images
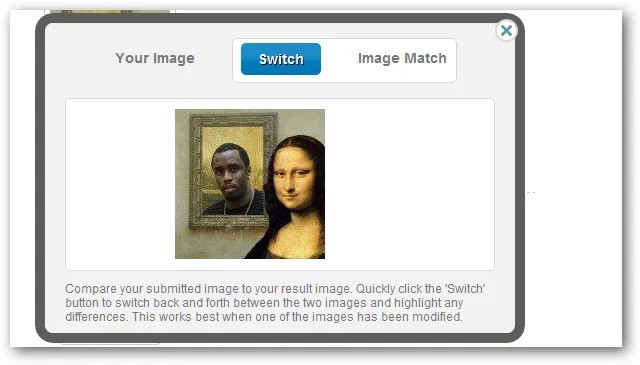
You’ll see a “Compare” button under each image that allows you to compare your submitted image to the TinEye results. You can toggle between the two by tapping the “Switch” button and observing any differences.
It works best when viewing the Most Changed and Biggest images, as these are most likely to have been edited somehow.
Final Thoughts
TinEye is a valuable tool to have on hand, and the extension makes it extremely simple to search for an image and learn more about it. There is absolutely nothing to lose by using this tool. It will also assist you in locating some exciting variations of images that you may wish to use in your articles. What are your thoughts? Is TinEye a necessary tool, or can you do without it?