
You may have difficulty visiting specific websites, or you may not be able to connect at all. To get to the bottom of the problem, you may want to call your internet service provider. It is possible, however, to do your investigation using a computer. For example, using a traceroute, you can determine what is causing your internet connection to lag. Well, this article will explain you how to run or perform a Traceroute on Mac.
What Is Traceroute?
For debugging network connectivity issues, Traceroute is a command-line program. In the same way that you can see where your data goes from your computer to the internet, you can see where it stops and how long it takes to get there.
What does Traceroute do
All of the information you send and receive on website exchanges via the internet. These packets are then routed to various routers (or servers) worldwide. The term “hop” refers to the process of sending data from one router to another. Observing exactly how long it takes your data to travel between each hop by running a traceroute is possible. In this manner, you’ll be able to pinpoint the source of your network problems.
Tracing a route might tell you about your network latency on your Mac. How long does it take data to travel between your device and a website or server? Latency.
How Do I Run a Traceroute on a Mac
After typing traceroute in the Terminal software, you may enter your desired website or IP address to see how long it takes to get there. Once you’ve pressed Enter, you’ll have to wait for the macOS traceroute to finish.
When you’re experiencing trouble accessing a website, run a traceroute on the computer, causing the problem. Otherwise, you’ll have to wait until you encounter the issue before being able to use a traceroute.
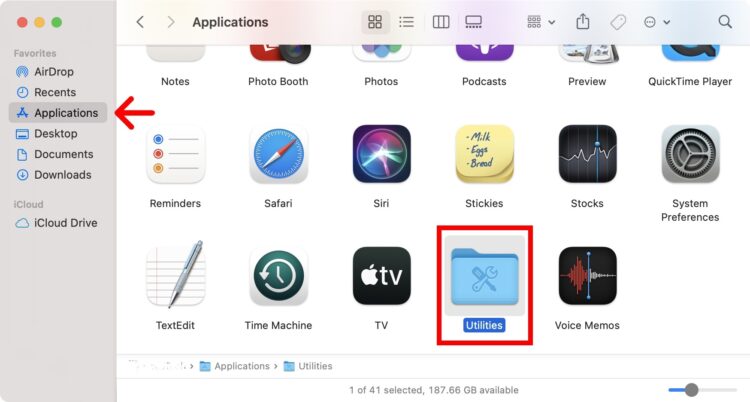
1. Open the Apps folder on your Mac. Click on the gray-and-blue face icon in your Dock to access this menu. Next, search for “Apps” in the left sidebar of the Finder window to locate the Apps folder. You can also hit the Command + Shift + A keys on your keyboard at the same time by clicking anywhere on your desktop.
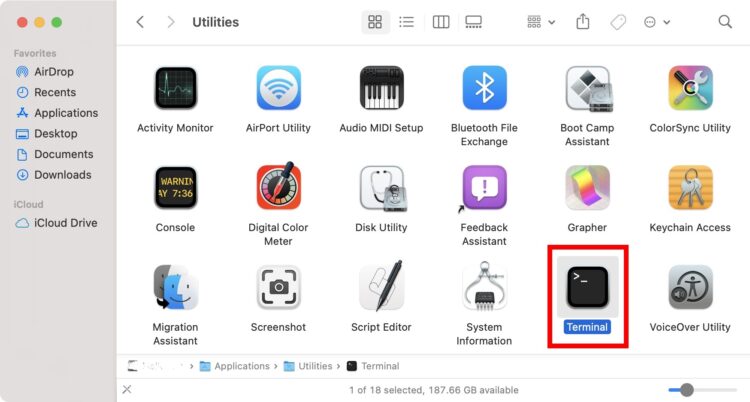
2. Afterward, open the Utilities folder.
3. Now, open the Traceroute Terminal app.
4. Then, type traceroute followed by a space and the URL or IP address of the website you want to trace. Traceroute 8.8.8.8 is an excellent example of a command to see if you’re getting a response from Google’s DNS servers. You can type traceroute techpocket.net or any other website to see if your internet connection is working correctly.
5. Next, press Enter on your keyboard and wait for the traceroute results to appear. When your Mac’s name appears after the numbered traceroute results, the traceroute is complete.

How to Read Your Traceroute Results on a Mac
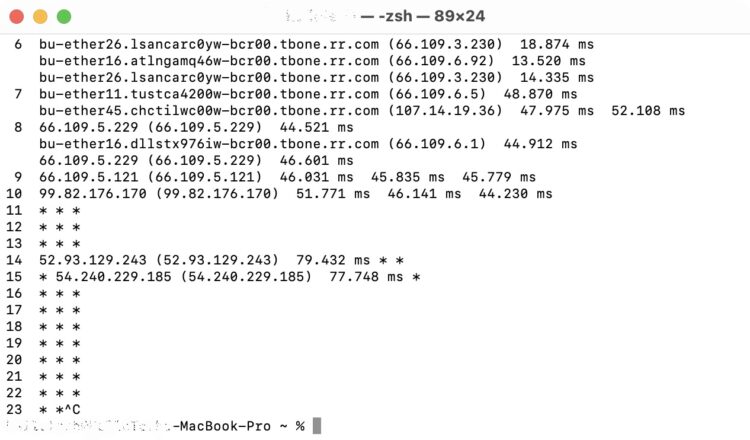
Each hop’s round-trip time (RTT) is listed in your traceroute results. There is probably a problem with the network if any hops are longer than 100 milliseconds. Check for error messages to see whether your connection has dropped.
On your Mac, the traceroute results will be displayed in three columns and multiple rows:
The number of hops: In your traceroute results, the first column indicates how many routers the traceroute program could access. If you have a 192.168 or 10.0 IP address, you’ll likely see your router in the first row. A few routers in the middle can be from smaller regional internet service providers (ISPs) or larger Tier 1 ISPs that process a request close to where it came from. Lastly, the destination web server will be listed in the final column.
Domain name: You’ll see in the second column the URL and IP address of the router that handled your request. The router’s address may include codes for airports and other geographic locations. Other times, the IP address of the router will be displayed.
Round-trip Times: The third to fifth columns in the table display the RTT. It informs you how long it takes for your request to go from origin to destination and then back again. RTT is a measure of the speed and reliability of your network. There are three RTTs in traceroute results because the command queries each hop three times to guarantee that the average RTT is calculated accurately.

For some hops, RTTs can be extremely varied. However, if any of them exceeds 150ms, you won’t have to worry. On the other hand, your network may have a problem if any hops take longer than usual.
ALSO SEE: Speed Test of Your Firestick
A problem with your local network could also be the source of a high RTT in the first few hops. Talk to your local network administrator about the issue.
Common Traceroute Error Messages
If there is a problem within your network, the traceroute results will also show error commands, including Request timed out, three asterisks (***) in RTT columns, Destination net unreachable, & more.
Three asterisks (* * *): This is not an issue if it occurs at the starting or middle hops, as long as the rest of the hops are completed. However, it indicates a problem if it occurs at the destination server and doesn’t show the IP address or server name. For example, it could occur because of a network outage, network congestion, or a firewall interrupting traffic from your router.
Destination net unreachable: It means a packet was dropped on the network. For example, it might be because of misconfigured router settings or a nonexistent IP address.
Request Timed Out: You can ignore this error notice if you see it in the first few hops. For example, Traceroute requests may be ignored by some routers. But if it occurs in the last few steps, it could be a firewall preventing the request at the destination, an issue with the return path, or a system-related connection issue.
The Control and C keys on your keyboard can be used to stop a traceroute at any moment.